


First let me say that I am reading everyone's posts, I just have not been responding. This should improve shortly.
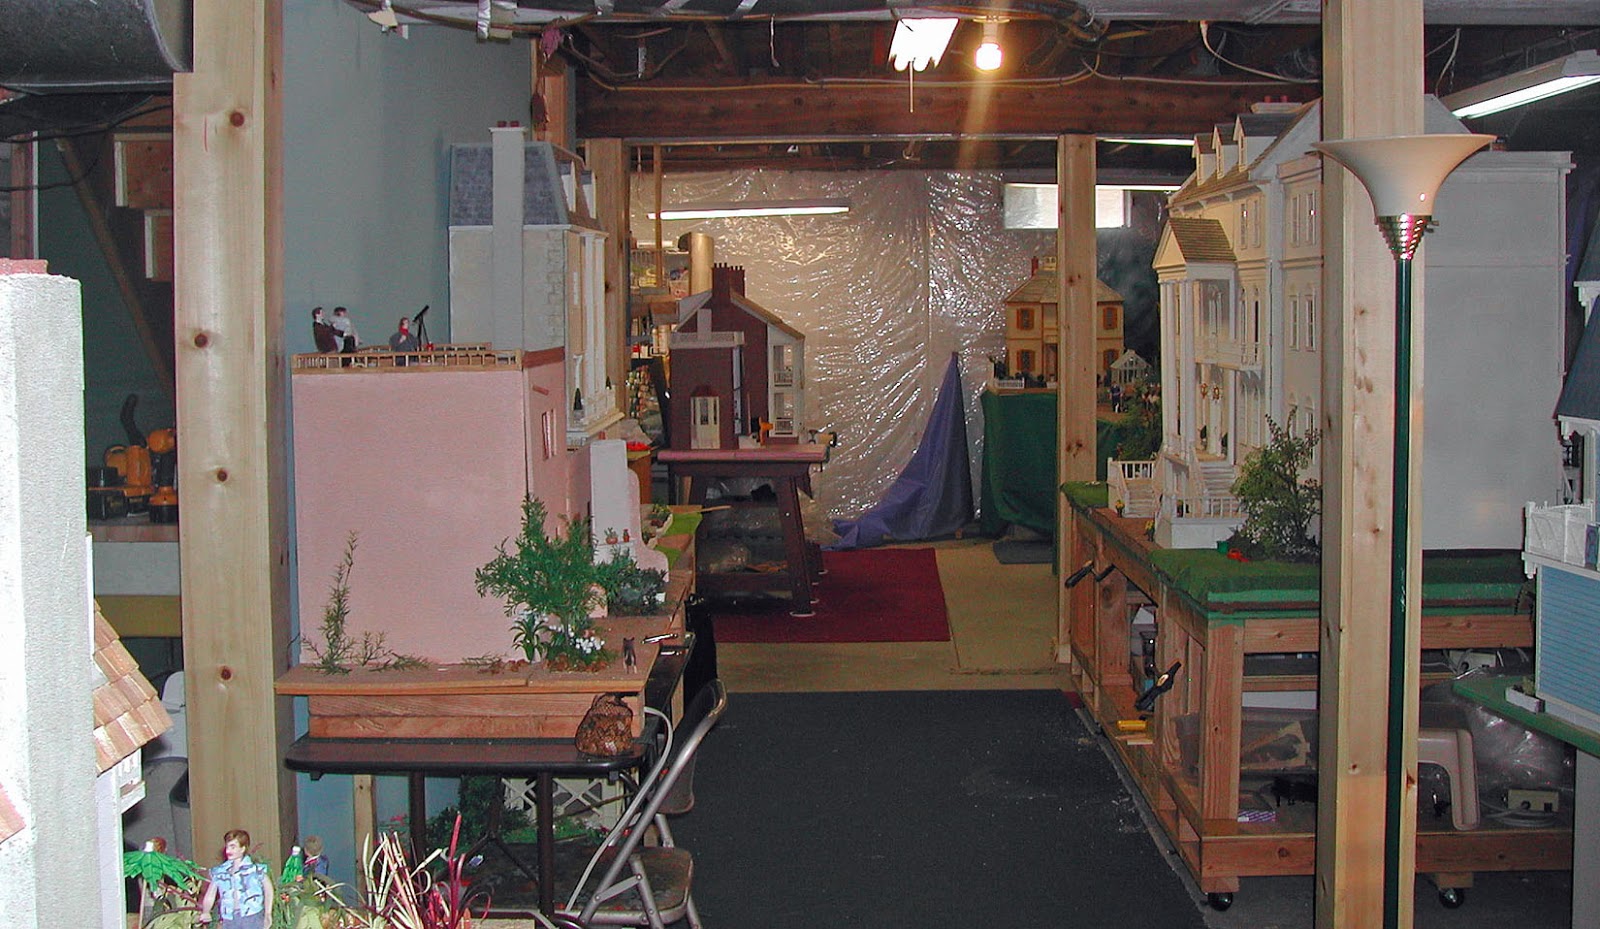
I thought that even though I haven't done much about miniatures lately, I should at least post about how much time and dog-work and money this making a better workshop has become. For a while, I was trying to work on my houses amid the havoc, but that didn't work out too well. So I decided to concentrate on organizing -- besides I couldn't find half my stuff! By tomorrow I should be able to do mini-work in almost finished new surroundings--thank heavens!
I am happy with the result. I now have new shelving (Home Depot had just the right shelving units) and lots of new plastic bins with covers from Walmart for my things. Both stores have thanked me for improving their cash flow (of course, I am now broke so my little people will have to wait a while for new shoes). Fortunately, some of my existing shelves were ok but just needed some better bins. My bins are even getting Labeled!
My workarea will always look like a basement since we do not intend to turn it into finished rooms, but it just had to look better and less messy. Sadly, it took more than a month (and more than a few dollars) and it is not entirely finished, but 1000% better!
I tried to take some pictures of my new work area and "miniature village" but my basement is not a rectangle and the stairs come down somewhat oddly placed so it is hard to get nicely constructed views. It does look good "in person", though.
Re-organizing has been exhausting--I hope never to have to do it again!
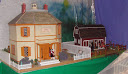
Some views:


Next time I should have some mini work to show.
no tienes una villa, tienes una ciudad !!!!! cuantas casas !! y todas preciosas ;)
ReplyDeleteSi es una ciudad! Es interesante que cuando comenzamos queríamos construir una casa solamente!!!
DeleteHello Iris,
ReplyDeleteIt might have cost a lot, but it is such a great investment. Your work area looks wondeful. So much space and so organized. It was worth the time and energy. As for your dollhouses, they just take my breath away.
Big hug,
Giac
Thanks, Giac. I simply had to do it. I had very little work area left--everything was such a mess--including me! And now, even my dollhouses have some room to "show off"
DeleteI'm so jealous! I am going to work this summer on construction a workshop in the garage. (I can't keep track of anything as it is, stuff all over the house)! Your newly improved work space is enviable!
ReplyDeleteNow, get to work! :)
XOXO,
John
Yes, I have already started to work again and it is a joy to be able to have room AND to be able to find things! Actually, we found stuff we didn't even remember buying! Of course, none of this will stop me from buying more!
DeleteHi Iris! What a fantastic workspace. I was looking at your blog last night and I was overwhelmed as I always am when I see all the characters who people your houses. How many years have you been doing this? What you have accomplished is remarkable. I do hope that I will be able to read from the beginning. I was reading some of the character's bio and being very entertained by their roots. Please correct me, but I think you work with your sister? Is this correct? Anyways, there is such brilliance here!
ReplyDeleteWe started at the beginning of 2001. My sister and I thought that, except for the first two houses, we would sell some. The problem was, we took it all so personally and when we made up backgrounds and lifestyles for the residents of the houses, they became part of the family--and of course, you don't "sell" your family! Glad you enjoy what we have accomplished. We build to please.
DeleteWOW! you certainly have plenty of space to store your houses and work down there. Making even minor changes in a house takes so much upheaval, but the end results are worth the disturbance and energy. Looks like you have a great space to work, and you are very organised, wish I was!!! ;)
ReplyDeleteYou would have been surprised to see how even a large area can go to "seed". What a mess. The problem was that even though I start out organized, I quickly dis-organize!
DeleteHi Iris! It is so much fun to see your newly reworked space! And to get a look at your "Village"!! I am envious of your space... although I do have a basement I could expand into .... it tends to be cold and a bit dingy and I worry about the dolls and houses just getting dirty and not kept up with!!! I really look forward to seeing your new progress on your houses!
ReplyDeleteYes, the workspace and "village" is greatly improved. The trouble with basements is that they do tend to be a bit dingy, to say nothing of damp! We have hung many 4-foot long flourescent lights throughout the area and use heaters in cool weather and a dehumidifier in summer. It would be great to have a very large room on the first floor--but we would have had to build an addition!! And THAT was not offered!
ReplyDeleteBut I am content--at least I can find things again!
WOW!! It's like a Museum down there!! So many Dollhouses, the basement must be enormous! It's lovely that you have such a great space to work your wonders!!
ReplyDeleteFantastic!
ML Fi xx
It is a great space--once we cleaned it up, threw out at lot of no longer needed stuff, and did some serious fixing-up. It is great to have a place to work where if I make a mess (often!) it can be cleaned up easily. Of course, it would be nice to have some large windows to see outside, but I am thankful for at least the small basement windows and lots of lighting fixtures.
DeleteThe best thing is that I can show my dollhouses nicely.
Hi Iris,
ReplyDeleteNo need to 'post' this: I'm just answering your question about piping that you asked about on my blog. (I can't 'reply' directly to questions because of a tech glitch, so I thought I'd answer you here).
That machine/toy I used to make piping is called Crazy Cords and is normally used to make braided 'friendship bracelets,' which were all the rage with the children a few years ago. You don't really need the toy --a drill will work just fine.
To make the piping, take one whole strand of embroidery floss and divide into thirds so you have one, three-ply strand. Tie off one end of the three-ply strand to a drawer pull or something attached to a wall and tie off the other end to the drill. Pull tight so there is no slack in the line. Turn on the drill and spin the floss for about a minute or two. (On the Crazy Cord device it takes exactly a minute and a half for optimum effect, but I suspect the drill might spin faster). The cord will start to tighten and 'pull' a little --that's when to stop.
Carefully remove the spun strand from the drill, It will want to bunch up so keep it taut. Untie the other end and double the cord up. Let one end go and the whole thing will twist together --you can 'help' it along by yanking down on the 'free' end and working up to the other, held end.
Once it's stopped spinning around on itself, you will have a perfectly-scaled piece of piping! Use a little tacky glue or Fray Check each time you cut the cord.
It took me a few tries to get it right --over-spinning and tangling were the biggest obstacles!
Hope this helped...I might do a post about it later.
I'm so jealous of your workspace...hopefully it will warm up soon so I can work on mine!
XOXO,
John
Looking great Iris! Glad to hear you are well xx
ReplyDelete