|
| Living Room -- 1030's Hollywood glitz! |
Many of you asked about the interior of
La Malcontenta. I did some posts at the beginning of this year and since many of you may not have been here yet, I am redoing the Living Room post with some
extra "glitzy" details. The next post will revisit the Dining Room.
The three most “glitzy”
1930’s Art-Deco-Hollywood-glitz (with some Chinese Chippendale) rooms are of course, the living room, the foyer, and the dining room.
Just to remind us
"who is La Malcontenta" (besides the
Villa Foscari by
Palladio-the most beautiful house in the world and my favorite real house! The
Wikipedia discussion is
in italiano, naturalmente).
La Malcontenta means "the disgruntled woman", and there are almost as many opinions for this name as there are Italians!
Ah, Italia!)
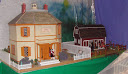
Mine is an
Art Deco Spanish Eclectic, a bashed RGT
Thornhill. I did post a
Behind the Build for this house, but never added all the details. I intended to get back to it, but somehow ....
 |
| La Malcontenta is now contenta! |
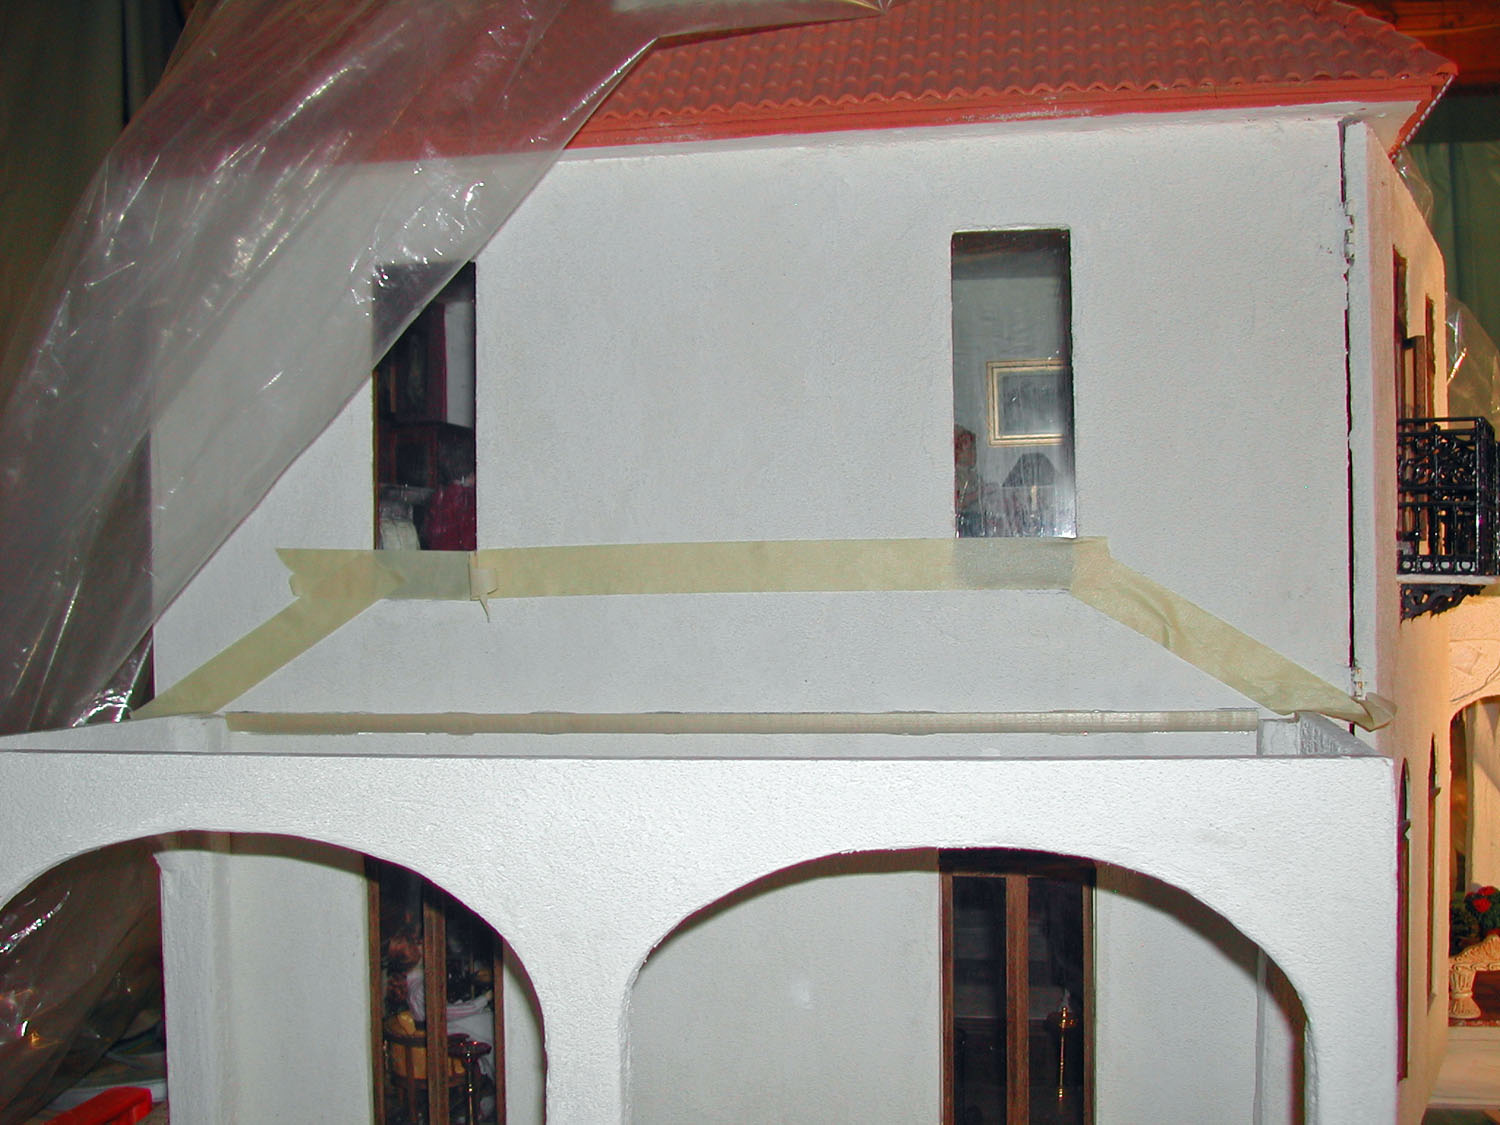
We made all the windows except the two
HBS Palladian triparate windows, and all the windows work. We made the working double French doors with Palladian arches and "stained glass". We added working bashed,
HBS dormers, "wrought iron" commercial plastic railings, and designed and made the main entrance. The house is stucco-ed with
Behr Sand-Texture paint from
Home Depot, and the roof is about a million sheets of
HBS Red Barrel Tile vinyl sheets.
The house is still not finished, but we intend to live a long time.
Just a comment on the designated style for this house. When I started this house it was a
Spanish-Eclectic Art Deco style, but before I finished it was an
Art Deco Spanish Eclectic, where "eclectic" covers all the previous words. See my post
The Importance of Being Eclectic to see what I discovered and how this came about.
Today we will discuss two of the four rooms on the main floor:
 |
| First floor floor plan. |
Enter here: The Foyer:
 |
| The Foyer -- My take on 1930's Art Deco Hollywood glitz. Door in back goes to the kitchen. |
I did want either a more Spanish-looking staircase or a more
Art Deco staircase. I couldn't buy or figure out how to do what I wanted, but I am happy with what I could do. I added a half-round piece of wood onto the right of the bottom step of the
HBS staircase to give it an elegant look, and some interesting posts and spindles, and stained the wood
MinWax walnut except for the risers.
 |
| Staircase posts and spindles |
The chairs (on the right) are from the
Dolls' House Emporium of many years ago. They didn't make them very long which is too bad since it is not easy to find Art Deco furnishings.
The crown moulding is a traditional classical simple trim. The walls and ceiling are painted white.
The chandelier is from
HBS. I still can't find exactly what I want, but in the meantime, this is quite nice.
I love the arches (my jig saw does it all) and my Ionic columns are
cake decorations from
Michael's. The flooring is real house stone-like wallpaper, cut into 1-inch squares and glued onto a poster board template. I like the tiles on the back wall but I wish they didn't have such a gloss finish. It's a tile sheet from a local dollhouse shop.I don't have the manufacturer's name but the company still makes many wonderful tile sheets.
The silver tables are "custom" found at a dollhouse shop. I should have taken a separate picture of the mirrors-- lots of glitz and angels! The table on the left has a wonderful Art Deco lamp which I got for a pittance because it doesn't light, but I think I know how to fix it--just need some time. The brass items on the other table are by
Clare-Bell.
 |
| Faux door to basement under the stairs; also a view of the mirror and lamp; and into living room through the arch. |
The Living Room:
 |
| Living Room |
Real house wallpaper lines the ceiling. It's great but it is tricky to glue down embossed paper without squashing it! Plus, this room is 15 3/8 x 25, so I was in the room working up! There had to be an easier way! The flooring is a customized
HBS flooring sheet of black walnut with a trim of red oak stained
MinWax Provincial.
 |
| The fireplace, an OOAK from a dollhouse shop. I modified the color to blend in with the copper foil paper (very tricky to use) on the wall. I also painted a "real firebox" in the fireplace, and gave it an Art Deco Brooke Tucker firescreen. (See it in the above picture.) |
 |
| Living room looking toward French doors. |
The curio cabinets are trinket boxes with the drawers removed. The working Art Deco lights on the top of the cabinets are made from
Art Deco style perfume bottle tops lit by grain of rice bulbs.
The following view shows the fireplace "surround" (I'm not sure what the correct word is) made from a small metal
Art Deco picture frame from Michael's -- with the bottom side removed! The beginnings of the trinket box "curio cabinets" flank the fireplace. I am still waiting for a use for their drawers.
 |
| A small metal Art Deco picture frame becomes a fireplace surround (correct word?)! |
The crown moulding is custom made from small real house detail moulding (
Lowes) and whatever
HBS trim struck my fancy. It is painted a mix of
Delta Creamcoat copper and gold paint to match the copper textured foil paper on the fireplace wall. It matches very well in real life--not so much in this picture! The walls are painted
Delta Creamcoat Light Ivory.
The stained glass in the Palladian doors is actually cut out of the fancy
plastic covering of a fruit basket!
 |
| Palladian doors and faux stained glass |
I added a wonderful eclectic mix of furniture and objet d'art (including Egyptian, Chinese, Italian, and Clarice Cliff) and paintings (including Tissot, Klimt, Monet, and Constable). I just LOVE
eclectic! The wonderful triple tulip floor lamp was another bargain because it didn't light -- but I fixed it!
I hope you enjoyed this updated post of a re-post whether you read it before or not, e spero che non sarà mai la malcontenta! (Good heavens, I hope that is "good" Italian!)