


 |
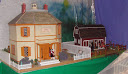
| Library--almost completed |
I know that it has been a dog's age since I posted, but the days have just been tumbling by here and I haven't been getting as much done with the dollhouse as I had planned. I had hoped to finish it by year's end, but I don't think that's going to happen ... Oh well, another missed deadline!
Also, just when things were calming down and I started again, I came down with a throat infection and a cough, etc. Then as I was taking the antibiotic, I developed a reaction to it! The medicine was changed, but now I had to recover from the infection and now also from the adverse effects of the first antibiotic!
Life is never simple …
~~~~~~~~~~~~~~~
~~~~~~~~~~~~~~~
The following rooms did manage to get some things done—not finished, but at least some progress.
The Library--
The room is 13 x 18 with 10" ceiling.
The fireplace (Concord), the sofa, wallpaper, rug, crown moulding, wood for flooring, and the interior door came with the house, but it still needed quite a bit of furnishings.
Also, I had a dry spell for a while with the Library. It’s funny how I can have ideas in my head but just can’t make them work out. Part of the problem was the wallpaper that was specified to go into the library. It’s gorgeous paper but not wallpaper—it’s printed on glossy magazine stock! I don’t think that wallpaper should be glossy but I was willing to live with that if the paper didn’t have a problem being handled! It creases easily (and the creases don’t come out), it rips, and the color comes off on your hands when you try to smooth out the pasted paper! Yuk!!! The wallpaper is “Gold Peacocks on Red” from HBS—gorgeous in the package, but deadly as wallpaper!
I bought the triple bookshelf from HBS (#5011) and stained it MinWax Provincial. It looked ok but a little “blah”, so I gave it a coat of MinWax Golden Pecan. This brought it to life. Then it got 2 coats of MinWax Satin varnish with sanding between coats. I didn’t want to use up floor space in the room for the bookcase, so I cut a hole in the back wall so I could push the bookcase flush with the interior wall.
Now I still wasn’t happy with the back wall, the wallpaper didn’t look “right” and the bookcase looked too short for a room with 10” ceilings. So I adjusted the only thing possible –the bookcase. I bought another bookcase from HBS (#5009), the triple bookcase with the faux cabinet bottom. I cut off the “arched top” of the original and I am using the original one upside down. I cut the faux cabinet off the bottom of the second cabinet and finished it to match the original and glued it as the new bottom of the original bookcase. Then I added some trim and knobs to the bottom to complete the look of faux drawers and cabinets. Then I had to make the rear wall opening larger for the now 9-inch tall bookcase.
 |
| Wallpaper and tears... |
 |
| Original bookcase |
 |
| Combining these two made the "perfect" bookcase!! |
 |
| Perfect!!!!! |
The crown moulding is UM #UMM4 with a bottom strip of trim #4190 from HBS, both painted Delta Creamcoat Ivory.
The doorway to the addition (which will be a guest bedroom) is cased with trim #4191 from HBS.
The trim in the room is painted a red combo to be harmonious with the red background in the wallpaper. I could not duplicate that color, so I came up with a base coat of Americana Heritage Brick, and then while still wet, a coat of Delta Creamcoat Red Iron Oxide.
In between all the problems, we found happiness in finding lights and the rest of the furnishings for the library. Andrew can’t wait to shelve the books.
 |
| The problems this room had could bring a person to tears! |
The Second Floor Hall—
Now came the careful and time-consuming fudging to make the circular staircase match up with its place in the second floor hall (all of 8 1/2” wide here!). Then it was pretty straight forward (but boring) to make the staircase and railings to the attic. The bullnose for the stairs is just front-rounded 1/8” square basswood. The staircase did not come with the holes drilled into the treads for the spindles, so I drilled my own: 1/8” deep with a 3/16” drill bit.
The flooring is HBS Random Plank, stained with Delta Creamcoat Walnut varnish (two coats) and varnished with MinWax Satin.
The arched window is an eBay find.
The wallpaper is vinyl, sand-color textured real house wallpaper. The crown molding is small detail trim from Home Depot and stained, yes, you guessed it: MinWax Provincial!
The Master Bedroom—
The room is 13 x 18 with 10” ceilings.
This room was pretty much set. I just had to glue the wallpaper (Mini-Graphics Raffina in pink), glue the crown moulding (painted Delta Creamcoat Magnolia White), lay down the carpet, and hinge the door. The crown moulding is interesting in that it mitered at the ends. It is sold by Dolls House Emporium. The loveseat is Bespaq but the rest if the furniture is Concord. |
| 2nd floor hall |
The room is 13 x 18 with 10” ceilings.
 |
| Master Bedroom |
 |
| Fireplace |
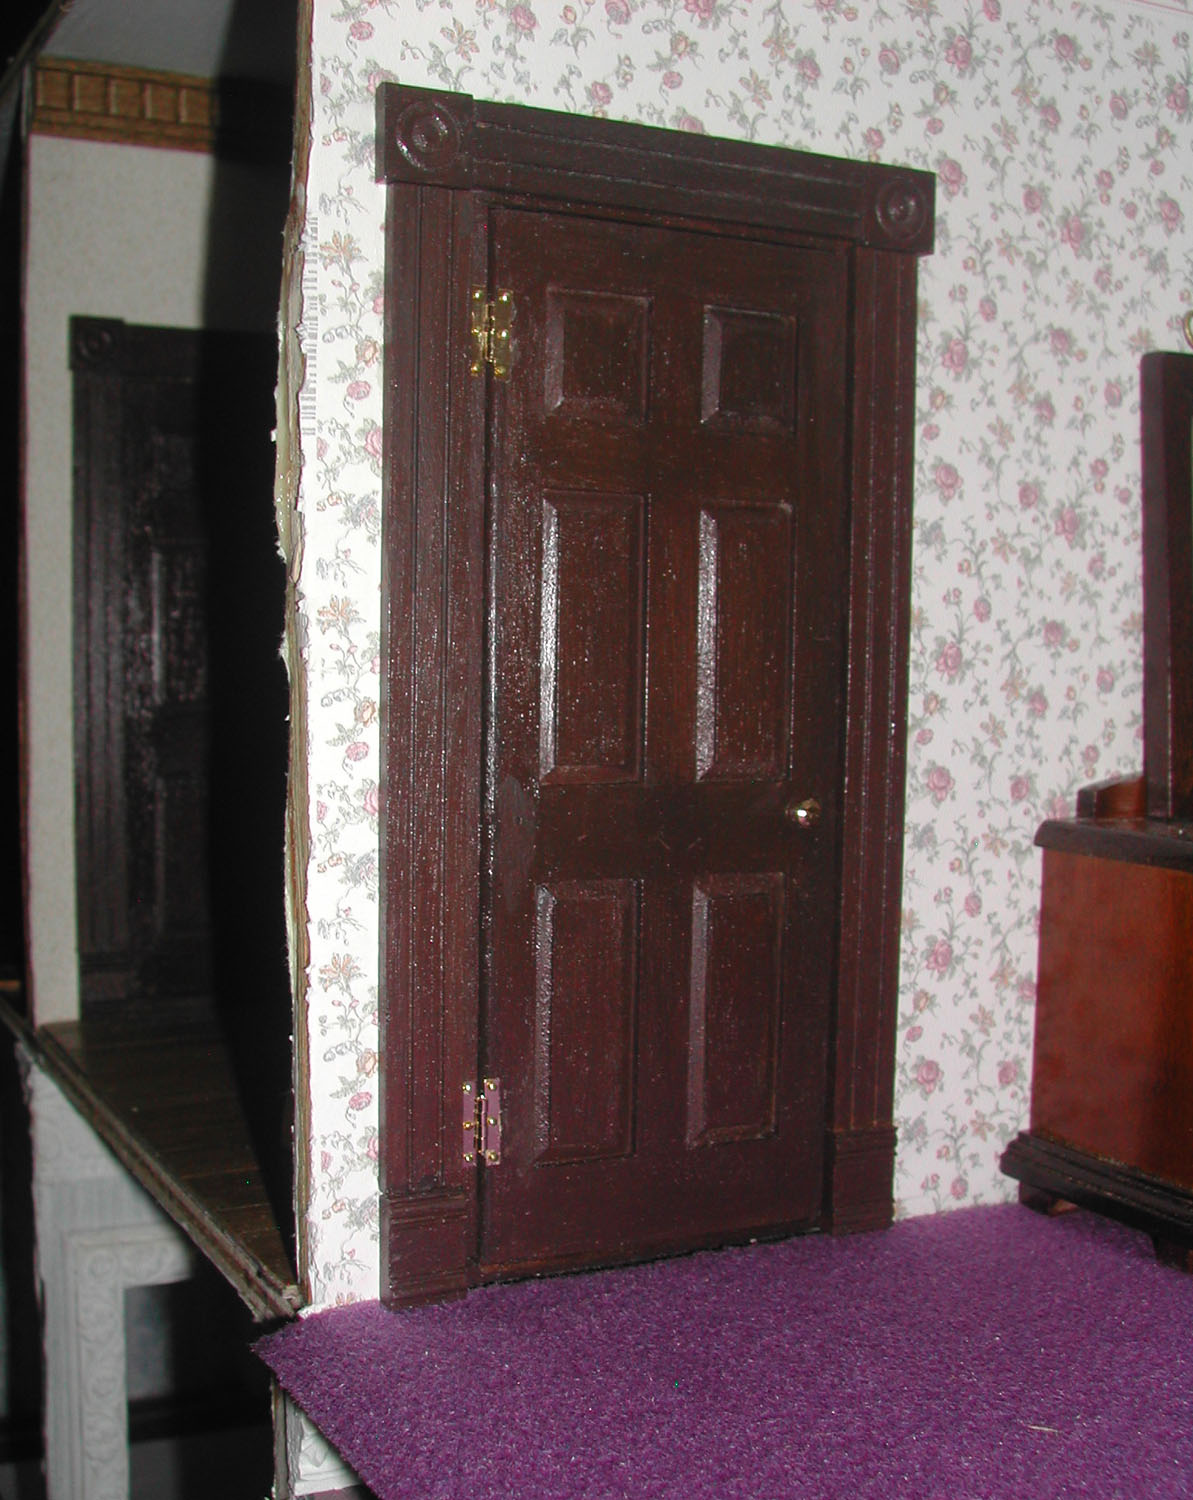
The Doors on the Second Floor—
The doors are HBS #6025 Traditional Block and Trim doors; I wanted to stain them dark walnut but I have not been able to get this wood to stain well so I painted the doors a combo of Delta Creamcoat Burnt Umber and Delta Creamcoat Walnut. I removed the doors’ pins and then hinged them with HBS #1131- H Hinges.

~~~~~~~~~~~~~~~~~~~~~~~~~
I am trying to get back to normal and I also want to make more YouTube videos ... good intentions ... we shall see ...
~~~~~~~~~~~~~~~~~~~~~~~~~~~~~~~~~~
The doors are HBS #6025 Traditional Block and Trim doors; I wanted to stain them dark walnut but I have not been able to get this wood to stain well so I painted the doors a combo of Delta Creamcoat Burnt Umber and Delta Creamcoat Walnut. I removed the doors’ pins and then hinged them with HBS #1131- H Hinges.
~~~~~~~~~~~~~~~~~~~~~~~~~
I am trying to get back to normal and I also want to make more YouTube videos ... good intentions ... we shall see ...
~~~~~~~~~~~~~~~~~~~~~~~~~~~~~~~~~~