


 |
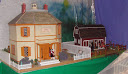
| Original Westville |
 |
| Westerly |
(For a complete pictorial chronicle, see the Webshots album listed on the left.)
My helpers were very skeptical with what I could do with this house. My sister who refuses to work with 1/8" plywood, said she would buy the furniture if I could get this done. My husband wasn't sure if / how this was going to work out. I had an idea; I didn't think it was going to be easy -- and of course, it wasn't. By the time I worked out my list of "must haves" there were a lot of changes to be made.
The Greenleaf Westville is a very nice-looking house. For those who can leave well-enough alone, or only want to make a small change, the build should go fairly smoothly. I liked the "bones" of the house, I just thought it needed to be more of a house, a summer Nantucket seashore looking house.
... I wanted a larger house.
... I wanted an open plan first floor
... I wanted a large porch across the front on the first and second floors.
... I wanted the chimney to be in line with a fireplace.
... I wanted a more interesting and open staircase.
... I wanted a second floor hall so that rooms (especially the bathroom) could be private!
... I realized that the bedroom furniture would be hard to place without some decent wall space.
... I wanted doors to the second floor porch.
... I did not like that the house roof line almost reached the roof of the porch and those tiny "on the floor windows" under that roof line. It looked claustrophobic! It looked dangerous! It looked like the builder miscalculated!
Fortunately, the Westville had a depth that was usable for my design but the length needed 10 inches. In retrospect, I should have added 12 inches.
~~Exterior:

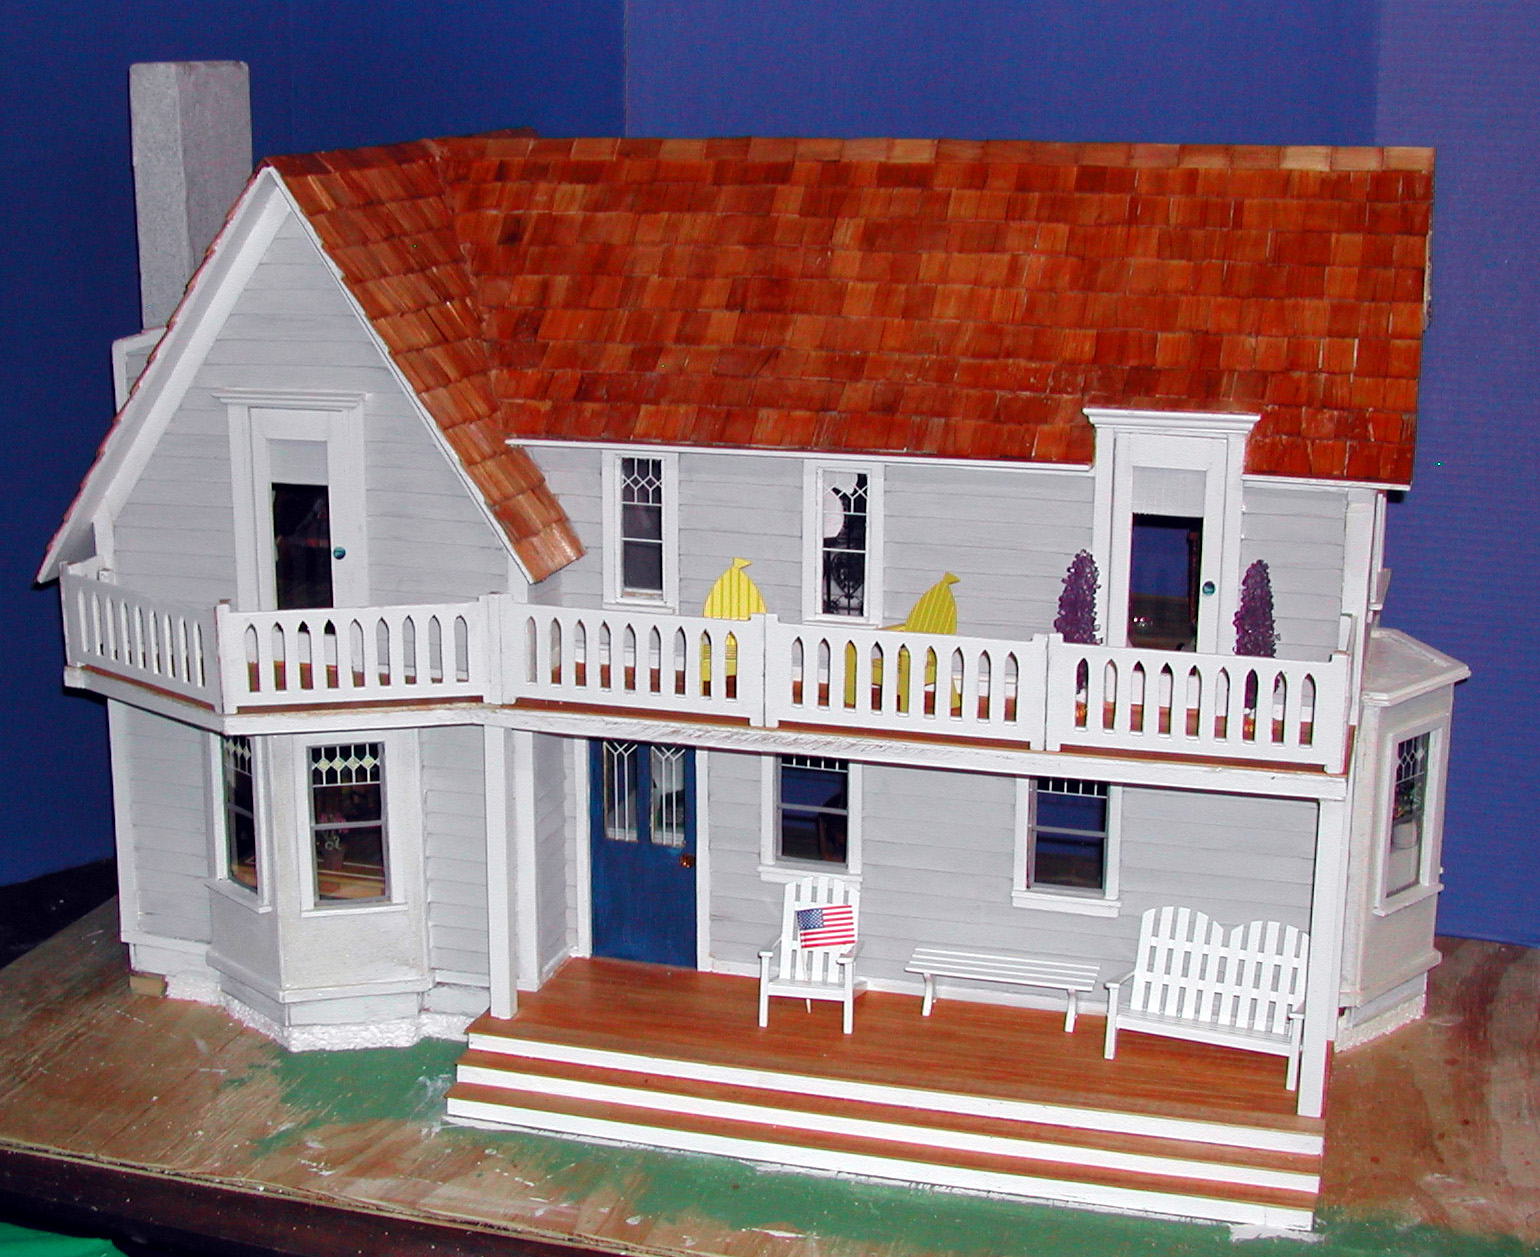
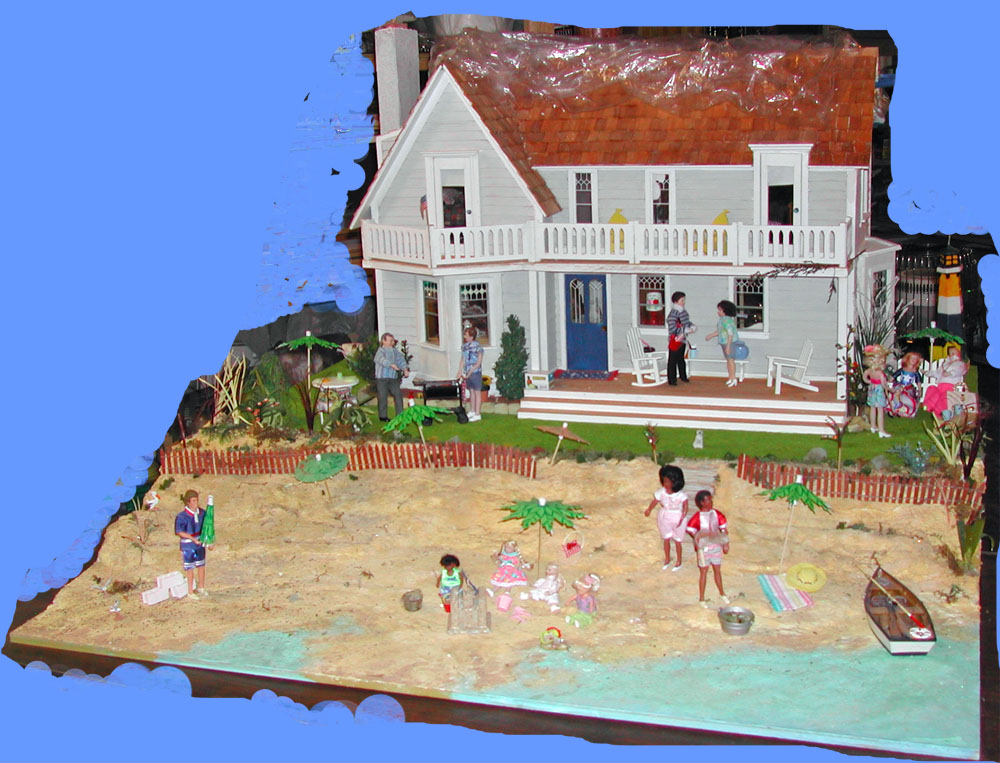
I raised the roof and added full sized windows. I added a large bedroom dormer. I added a large chimney and stuccoed it. The house has grey clapboards with white trim. I added a porch across the entire second floor front with doors to it from the bedroom and the den; and across 2/3 of the first. I added some nice columns and steps. This house front is made for sitting and relaxing and watching the ocean! In fact, the whole house is made for seaside fun!
The beginnings of the interior:

To this:

~~The Main Floor:
...A completely open space was made. I put a fireplace (and its chimney) on an outside wall in the "living room".
...The kitchen appliances were put along the bay window on the other side.

... I bought the narrowest stair I could find and turned the stair to face the back of the house. This allowed me to make a nice open, flying staircase and put a buffet under it. To keep the staircase as narrow as possible, I used 1/16 inch dowels as spindles and put them on the outside of the stairs so that the little people would have some room on the stairs for themselves. The upstairs hall would be narrow, too.


~~The Second Floor:

...The upstairs has three rooms (den, bathroom, and bedroom) and a stair hall.
...The height of the second floor in front was much too short, so I had to add to make the wall 8 inches tall. Then I had to make the little windows in front regular size windows. And I had to raise the roof line -- this was not easy since it affected the adjoining roof line of the bedroom.
...I added a balcony door in the bedroom and in the den. I added a dormer in the bedroom. I gave the den a ceiling to the roof and I should have done this in the bedroom also -- a peaked ceiling is so interesting.
...I should not have made the stairwell have a walkway next to the stairs. I should have made the "hallway" in the front of the house. Then the bathroom could have been pulled to the back and its door to the "hall" visible. The room I would have gained by not having a walkway next to the stairs would have added a couple of inches to the width of the den --which could have used it.

I thought of this too late; I was to0 excited about my hall. The door to the den would have been to the hall in front of the house. It is cute to have the hall across the back and see the doors opening to it, but doesn't add that much. The removable wall with the bathroom door is still waiting to be done.
Finishing touches need to be done.
~~~~~~~~~~~~~~~~~~~~~~~~~~~~~~~~~~~~~~~~~
~~~~~~~~~~~~~~~~~~~~~~~~~~~~~~~~~~~~~~~~~
The beach landscape is discussed in its own Westerly "Behind the Build" post.
No comments:
Post a Comment